How to configure Eureka Client
Configuration
Step 1: Add the following dependency in the application’s pom.xml.
   ...
   <dependencies>
    ...
		<dependency>
			<groupId>org.springframework.cloud</groupId>
			<artifactId>spring-cloud-starter-netflix-eureka-client</artifactId>
		</dependency>
    ...
	</dependencies>

	<dependencyManagement>
		<dependencies>
			<dependency>
				<groupId>org.springframework.cloud</groupId>
				<artifactId>spring-cloud-dependencies</artifactId>
				<version>${spring-cloud.version}</version>
				<type>pom</type>
				<scope>import</scope>
			</dependency>
		</dependencies>
	</dependencyManagement>
  ...
Step 2: Update the main application class, adding the annotation @EnableEurekaClient.
@EnableEurekaClient
@SpringBootApplication
public class HrWorkerApplication {

	public static void main(String[] args) {
		SpringApplication.run(HrWorkerApplication.class, args);
	}

}
Step 3: Add the following properties to the application.properties.
spring.application.name=hr-worker  # here put the application name
server.port=${PORT:0}              # associate an available port to the instance of the application
eureka.instance.instance-id=${spring.application.name}:${spring.application.instance_id:${random.value}}   # name the eureka client instance at eureka server during registration
eureka.client.service-url.defaultZone=http://localhost:8761/eureka   # URL of eureka server for client registration
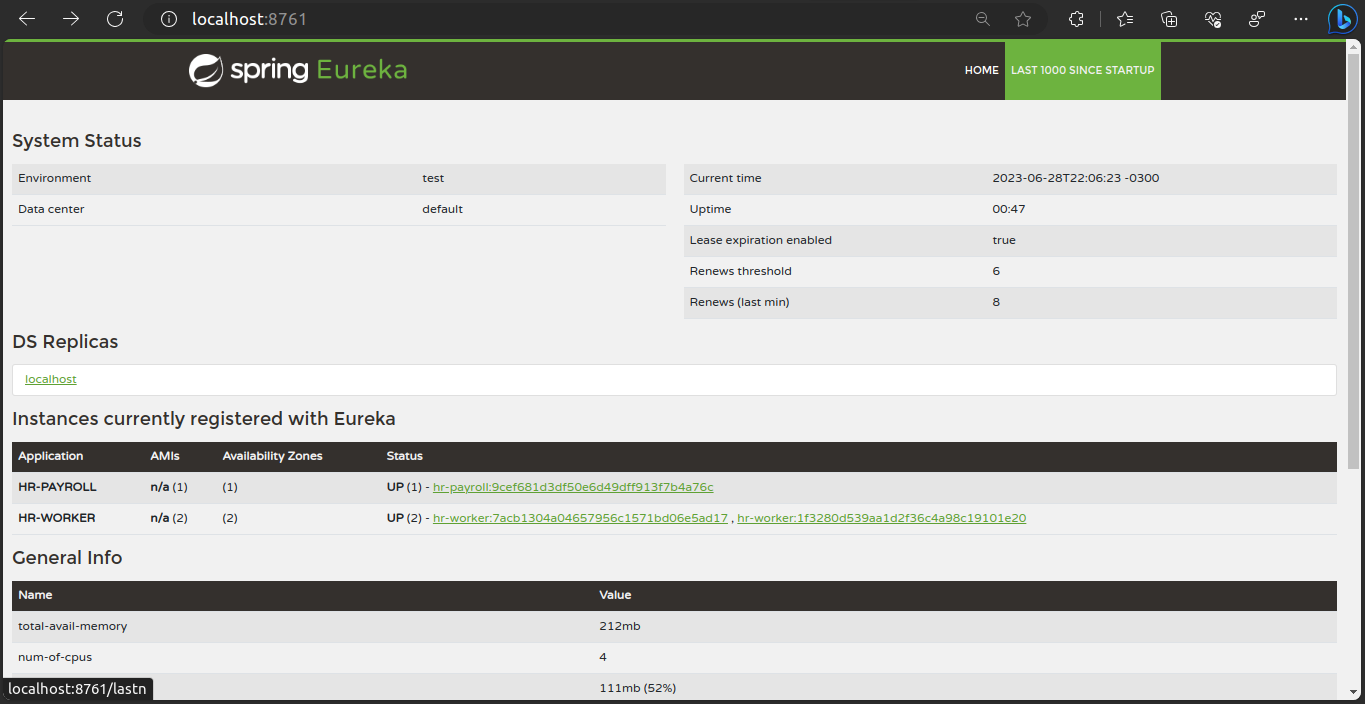
Step 4: Run the project, access the URL http://localhost:8761/, and you should see an page like that. In this example, there are three clients registered. One of pay-roll service and two for hr-worker service.
